Here you can find some useful tips on how to use ImageShaker (IS)
Well, because of the very early stage of development, IS is sometimes unstable :-). So the first advice is to save your work whenever you have made something important.
There are no layers in IS. But this does not mean that you cannot compose an image from several different ones. You can achieve this function using the Blend filter (in the Channels and composition category). Every layer is represented by an image. The order in which you connect these image to the Blend filter determines the order of layers. The Blend filter itself gives you the choice to move layers and to blend them in different manners. When you want to set transparency on a layer then just insert a Set alpha filter between the image representing the layer and the Blend filter. When you want to set some color(s) or area of the layer transparent, just mask it out.
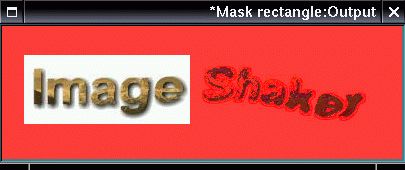
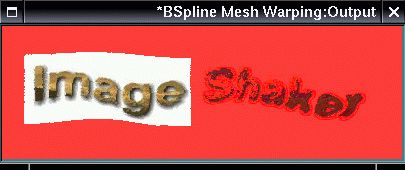
When mentioning the masks I have ran to another feature. The masks can be warped using any of the warping filters with the image. This means that when you select a rectangular area on the image and then warp the image, the rectangular mask is warped too.
 |
| | v |
 |
When using more instances of the same filter you may want to use the same settings. You can simply use the Get properties item from the Copy properties sub-menu of the filter pop-up menu to acquire the desired settings and Set properties item to set them. This works even on different types of filters, but you are prompted before setting the unknown values.
The workspace is just another filter, so it can be used in the same way as filters. This means that you can mark some images in the workspace as input and some as output and save the workspace to a .wsf file and then insert the Workspace item from the Other category in the filter insertion dialog to another workspace. Then select the .wsf file in the dialog which will appear after left clicking on the nested workspace item. When you choose the nested workspace to be loaded as a black box, the images you have marked as input will appear as the input connection points an those you marked as output as output connection points. When you load the nested workspace as line-up, all the filters and images in the nested workspace except the marked ones will be inserted into the current workspace.
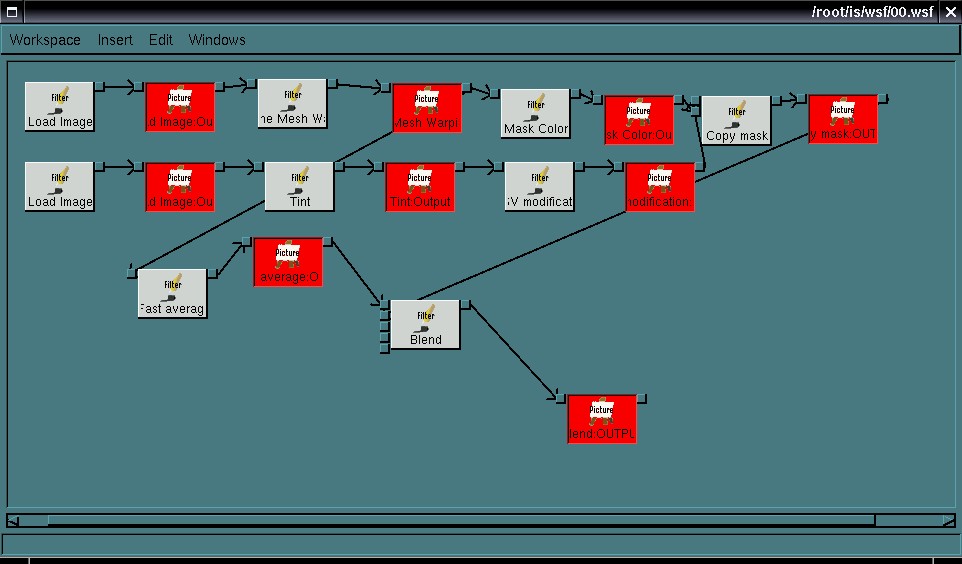
And that is all for now. When I'll have some time I'll add some more features and images. To see what IS can do you can look at the logo on the top of this page. The logo was made from three images - the text "Image Shaker", the text "Tips & Tricks" and an image of mountains. On the image below you can see the workspace window with the workpace used to create the ImageShaker logo.